
Portfolio
Introduction
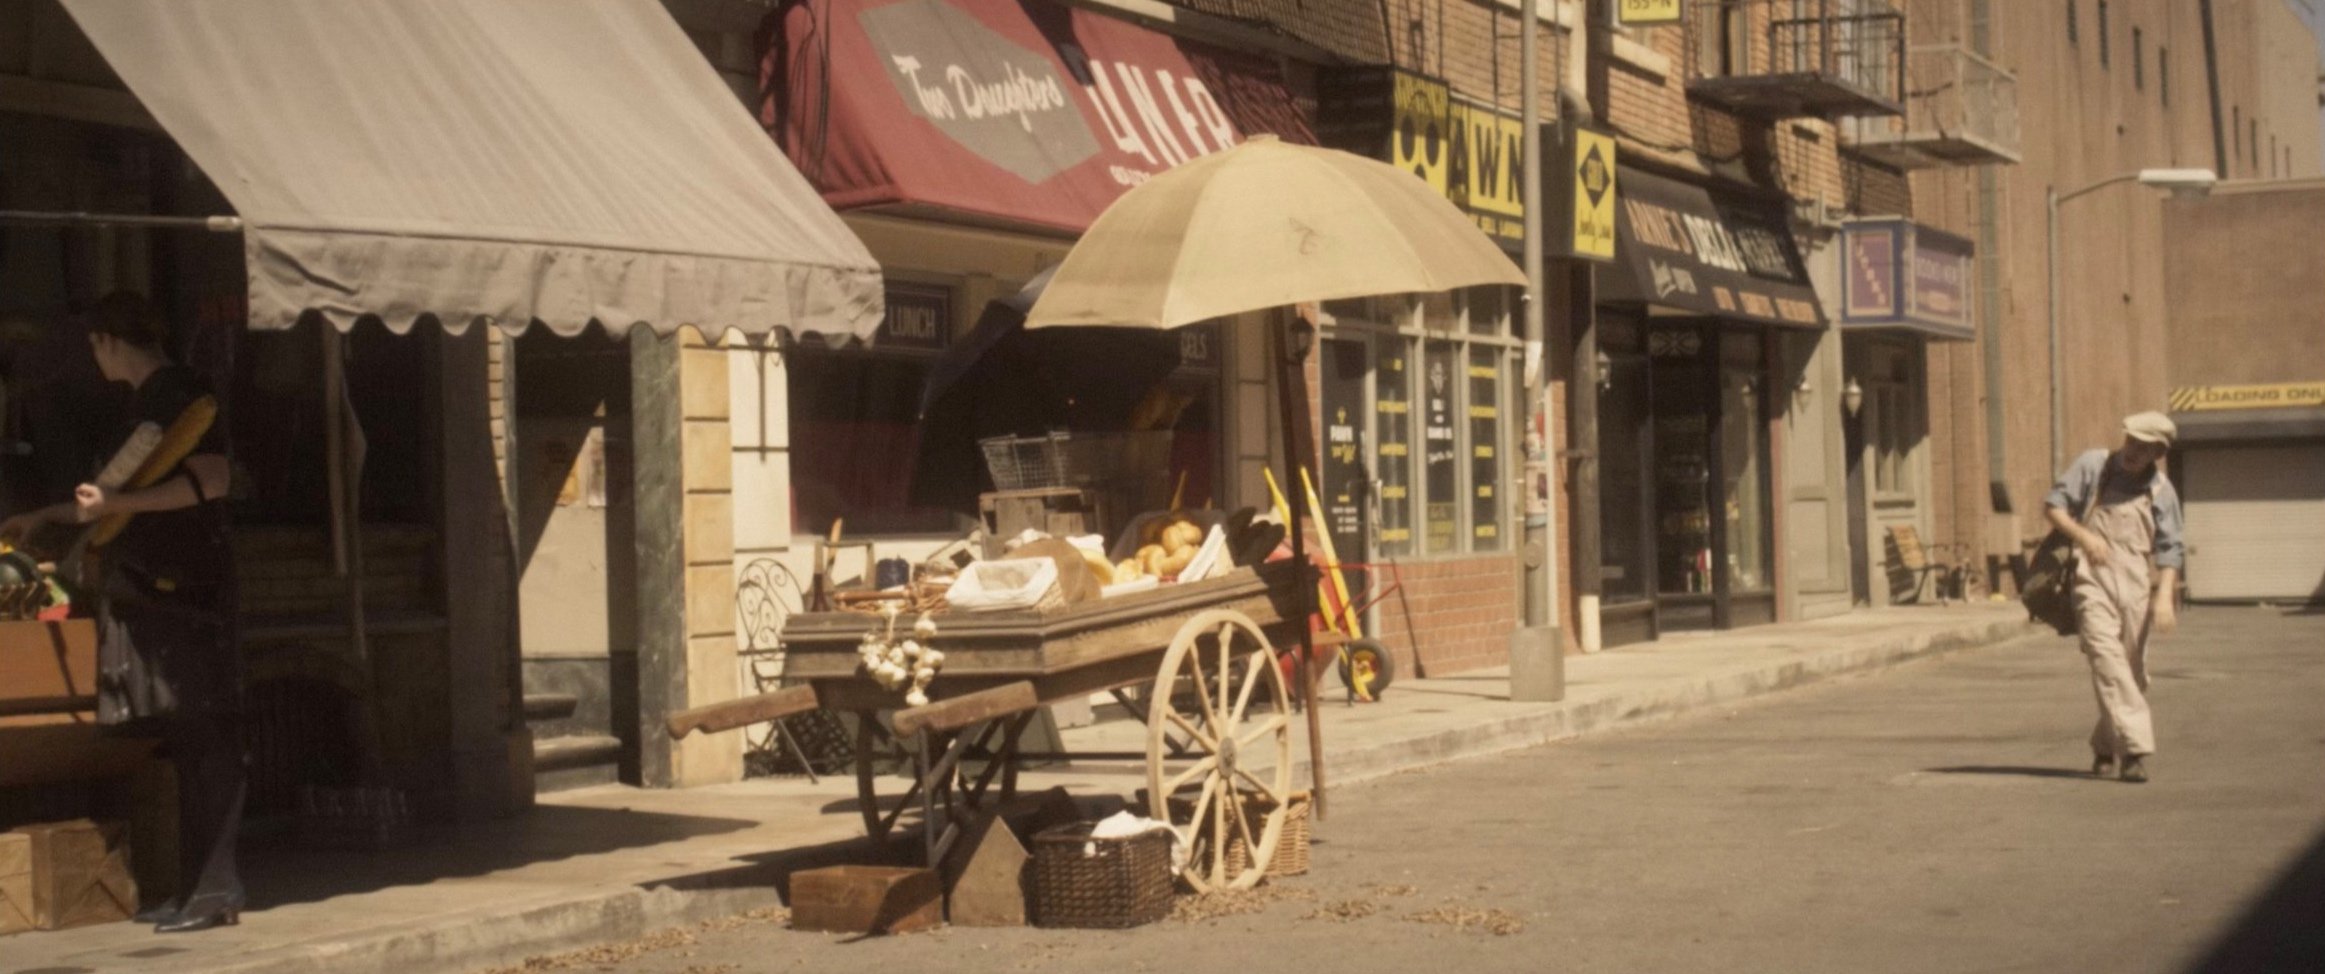
The Film I have chosen is “The Ballerina, The Shoemaker and His Apprentice”, it is a Film set in 1936 where a young guy called George ends up working in a ballet pointe shoe making business and ends up falling in love with the ballerinas and the shoes that he makes for them.
Sections:
The Assembly
The Beginning of the Edit
Premiere Pro Synchronise Feature
The narrative/storyline
Working on a project that was filmed by a team I never met
The finished first Rough Cut
Issues during the edit of the Film
Fixing/Improving my Timeline
The lag… its unbearable
Fixing the Timeline… again
Sound Design
Crossfade between Dialogue
Mixing Dialogue and Using Essential Sounds
Using “Reduce Noise”
Adding ambient/atmos sounds
Adding SFX
Adding the score
Colour Grading
Converting from Premiere Pro to Davinci Resolve
ACES Workflow
Before and after colour correction
Split screen Colour Correcting
Colour Grading and Film Effect
Going back to Premiere Pro
One last touch… Film Grain
Reflection
The Finished Film
The Beginning of the Edit
Before I started editing this short film I organised the footage and audio files and renamed them in Premiere Pro to make sure that whilst editing I can quickly find different takes of the same shot in case I don’t like the take anymore or I can find different shots quickly, doing this drastically speeds up the process of the assembly as it means I spend less time hunting for a file that I need and I instead spend more time working on the film, it also helps me know what kind of shots was filmed since I wasn’t on set when this was filmed so I don’t know what was and wasn’t filmed.
The Assembly
Premiere Pro Synchronise Feature
Built into Premiere Pro there is a Synchronise feature which uses the Timecode that’s built into the audio and footage metadata to make the two match perfectly causing the speed that I am able to assemble a rough cut to be quite a lot more, this is also great for when in the future I want to change which audio track I used (each track was a different microphone that was used in the shot/take to record the audio which you can see in the screenshot on the left) I can just re-add the audio file to the timeline and sync it to the footage without needing to see the clapper.
The narrative/storyline
For this short film I decided to keep the narrative/storyline quite simple and follow the script more, this is because the genre and pacing of this film didn’t allow to much when it comes to moving scenes around without ruining the story and it not making sense anymore. So the story line had to quite linear but this is isn’t a bad thing because it puts more emphasis on the main character and his emotions and feelings and we end up relating to him a lot even though majority of the audience probably have never touched a ballet shoe in their life yet they can still relate to the main character and know what he is feeling and this is because the story is quite simple and linear causing more emphasise to be put on the emotions instead.
Working on a project that was filmed by a team I never met
Having never met the director, DOP or scriptwriter to discuss their visions for the film has made editing this very interesting because its a lot of creative freedom on me as I am used to work with the crew to make the film look like how they all envisioned it but with this short film I don’t need to do that and it was really weird editing this without talking to the director or DOP to get their point of view of it and see what needs changing so both are happy with the product which just made me become super creative and try stuff out and learn new things when it comes to editing as I just had so much freedom which was super nice to experience for once whilst editing a short film.
The finished first Rough Cut
Here is the finished Rough Cut timeline, currently it is to long at around 18mins so I will need to cut out some scenes and shots to make it shorter and to also help with the flow and story telling. Also some of the takes have terrible audio no matter what microphone is used so I will need to use a different take with better audio or try to fix the audio in post. Finally before I work on the second rough cut I need to colour/tag the footage and audio for each scene as its already starting to get confusing separating the scenes from each other, this is something I have learnt and next time I am editing something like this I will tag the footage and audio whilst I am doing the assembly to make my life easier.
Issues during the edit of the Film
For Black Friday I purchased a 4tb external SSD to hold all the footage, project files and more for this short film however during the edit of the rough cut which was around mid December my SSD started giving disk errors and had to be repaired by Windows Disk Utility which for a drive holding footage that I can’t risk loosing I choose not to risk using the drive and to get it replaced under its warranty, so on the 21st December I sent off the faulty drive and had to put a pause on the project, after many emails back and forth with the company support I only received the replacement SSD on the 25th January which meant I was behind by about a month of what I originally planned so I have had to spend a lot of long day and nights to catch up. There was no way I could have predicted this would have happened especially for a brand new SSD which should have been very reliable for the next couple years but I just got unlucky with it and next time when I have the money owning a back up drive that can store the footage and still be worked from would be a nice addiction (maybe investing in a storage server). However I could have handled this situation better if I was to turn back time, instead of spending one month not doing anything I could have cleared out my PC SSD and worked from that SSD so I wouldn’t have been so behind on work and my PC would have been powerful enough to handle these files.
Fixing/Improving my Timeline
As you saw in my earlier screenshots (and probably facepalmed) the timeline was originally just a single row of clips which at the time this sounded like a good idea until after I finished the rough cut and was working on the fine cut to which I realised my mistake as whilst working on the edit to get closer to that picture lock I realised how much harder it is to just change the angle of a shot or make a scene longer or shorter. After realising this I decided to redo my timeline and have it set up the correct way which you can see in the screenshot on the left, this change helped me improve my efficiency editing and has helped me work on the fine cut faster, I have now cut the short film down to 15mins and I am getting close to having a picture lock.
The lag… its unbearable
With the timeline now being the proper way it has made me more efficient when it comes to the cutting the footage and editing it to get to the picture lock however it brought up new issues… lag, with there being so many clips on the timeline now it meant my laptop started to struggle a lot more when scrubbing through the timeline and editing the footage but there is a solution to this called proxy’s, a proxy is a smaller and lower-quality copy of a high resolution video that is used to replace raw footage during the edit of the footage to help with performance and I will be using it from now on so that I won’t rip my own hair out with how laggy the timeline is.
Fixing the Timeline… again
Whilst editing I noticed another issue with my timeline that was causing me to work slower and those issues was that the clips wasn’t colour labelled and that the tracks weren’t labelled which meant when I needed to find a scene quickly I didn’t know where the scene was let alone know where the scene started or finished and something similar happened with labelling the tracks as sometimes I wouldn’t be able to see what clips is on that track so I wouldn’t know what its for but now I can because I just need to look at the tracks label, so because of this I spent about a hour going through my timeline and properly labelling everything, this is something I will do from the start on the next film that I am editing because this was such a time saver and made it so much easier to edit.
Sound Design
Crossfade between Dialogue
The first thing I did for sound design was I add crossfades between all the dialogue, this made the dialogue flow more naturally between each other and made it sound more seamless and smooth and it made it harder to tell when the audio source was changed which made sure the audience stayed immersed in the short film and this will be improved on later when I add the atmos/ambient sounds.
Mixing Dialogue and Using Essential Sounds
As my focus for this project was not sound design I decided to use the essential sounds tab in Premiere Pro to help speed up my workflow. In this tab I added the “Balanced Male Voice” present onto all the dialogue, this gives the character voice a nice boost from an EQ which makes the microphone audio sound more clear and crisp, I then also at the same time worked on mixing the dialogue/on set audio so that all the dialogue is at the same volume with each other which gives a more pleasurable watching experience.
Using “Reduce Noise”
Some of the dialogue audio that was recorded on set had some background noise from either the microphone rubbing on the pieces of clothing or something else, I decided to give the “reduce noise” feature in the essential sounds a try to see if this could sort my issue before trying to use a low pass filter to fix the issue and it worked surprisingly well when you dial it in correctly, this has been a massive life saver and time saver as it means I can speed up my workflow for sound design as all I need to do to remove background audio is just to enable this feature and adjust it till you can’t hear the background noise whilst the characters don’t sound to robotic.
Adding ambient/atmos sounds
At this stage of the sound design I am adding now the ambient/atmos sounds for the scenes that require it because the original one isn’t that strong/noticeable or because I had to remove it from the original dialogue since I used the reduce noise tool or because it wasn’t that great of quality so I had to cut it out. Using the atmos sound and the crossfades between the dialogue causes the cuts of the dialogue to be completely unnoticeable which is perfect because it means the audience stays engaged in the film.
Adding SFX
When it comes to the sound effects I tried to use as much as I can of what was recorded on the day that they where filming however this wasn’t always possible or what they recorded was just unusable so I did one of two things depending on the situation: number one as seen in the screenshot on the left I would use audio from the sound that was recorded on set and repurpose it such as footsteps, this made them sound a lot more realistic because they where recorded on the actual set material
Or the second way I would add sound effects which can be seen on the right is by using a website called: https://www.epidemicsound.com/ which is a music and sound effects library website where I would find sound effects that is either what I’m looking for or sounds similar to what’s happening on screen, such as on the right I found a “Door Close” sound effect which I used to recreate the sound of the doors closing which we either could see closing or would assume is being closed even though its not visible such as the scene where George is walking into his room we would assume we could hear the door close behind him as he enters the room.
The reason why I choose not to edit the audio such as the sound effects and atmos in Adobe Audition is because there wasn’t much of a need for going through the troubles of moving from Premiere to Audition and back for maybe at most 3 different sound effects for one scene so I choose to instead stay in premiere pro for the whole sound design and use the built in Premiere Pro features which helps because I have a lot of experience using them outside the university.
Adding the score
When I was adding the score for this short film I had to use 2 different tools to help me fulfil the sound design that I wanted at the end, one of those you can see me using in the screenshot on the right which is the essential sounds panel to use the “from outside” preset to make the score sound like its coming from inside the theatre in the scene where George is seen leaving the theatre after being disappointed that Silvia is not dancing, this effect turned out amazing and I was super proud with how it sounded and gave the effect that I was looking for.
The second tool I had to use on the score which you can see being used in the screenshot on the left is the remix tool which is a tool that figures out when its the best place to loop the audio and then loops the audio clip to the desired length that you want, this was a life saver for me on this short film as the scores provided to me was very short in length which meant that it usually wasn’t long enough for what I wanted but with the remix tool I was able to make it the length that I needed which meant the sound design was exactly how I wanted it to be.
Finished Sound Design
Colour Grading
(Graded Section)
Converting from Premiere Pro to Davinci Resolve
As you can see in the screenshot on the left I had made a version of my sequence that has no audio files and I removed all the disabled clips to just have one single layer of clips, this makes it easier to import this sequence into Davinci Resolve and easier for me to work on the colour grade in Davinci.
In the screenshot on the right you can see the sequence imported into Davinci Resolve with all the media in order and with the transitions still there and this is because I used XML to convert the project from Premiere Pro to Davinci which means it keeps majority of the properties and transitions that I have done on the clips which is perfect for my use case and saves me time.
ACES Workflow
For this short Film I decided I wanted to learn the ACES workflow and learn how to colour grade with ACES so after I imported the media and sequence from Premiere Pro I went into the project settings and adjusted the colour management settings to how you see them in the screenshot on the left, these settings make the colour space of the Project to be in ACES and it applies a DeLog LUT to the footage to convert it to REC.709 and then I also set it that Davinci outputs the footage in REC.709 which is a colour space that every monitor supports which means its the most compatible colour space to use.
Before and after colour correction
Due to me using a DeLog LUT which you can see above, there wasn’t much for me to correct as most of the lighting was already perfect however this couldn’t be said the same about the white balance which was very warm from the camera, as I wanted to make all the footage match in warmth I decided to correct all the footage to the correct white balance and then add a node at the end for the colour grade, this proved hard in some clips and something I wish I did that I realised now writing this is that the footage was filmed in RAW which meant I could have changed the in camera white balance in post without needing to mess around so much with the dials which would have made this a lot easier and less of a headache for me but this will be something I will learn for next time.
As you can see bellow on the left is the before shot and on the right is the after shot, lights obviously had to stay warm as that’s just how the light was on set but everything else was balance correctly to a neutral white which gave me alot of creative freedom in colour grading to get the exact look I want.
Split screen Colour Correcting
Whilst the footage alone may have been colour correct, the different shots from the same scene definitely did not match with each other which means I had to colour match the different shots with each other so that when they would cut between the two you wouldn’t really notice it much because the colours matched with each other, this meant I had to use the split screen tool in Davinci so that I could see what the shots around looked like and match it with that which made my life alot easier and sped up the colour grading process. It was also interesting using Davinci split screen tool as its a lot more advanced then what I am used to in Premiere.
Colour Grading and Film Effect
After all the clips was colour corrected I started working on the colour grade, originally I wanted to go for a sepia look but after giving it a try on a single scene it just didn’t fit the vibe of the film so I decided to scrap the idea and instead go for a warm vintage film look as the film is set in 1930s, after adding some warmth, lowering the tone, lowering the contrast and saturation it still wasn’t exactly what I wanted till I found a effect built into Davinci resolve called “Film Damage” which gives the footage that glow effect and scratches which is what sealed the look for me and it was exactly what I wanted. I did originally want to add Film grain in Davinci but sadly you need to have bought the studio edition to use it so I decided to add it instead in Premiere Pro which we will see later and it is what fully completes the look.
Going back to Premiere Pro
Now that the colour grade and Film Damage is done its time to move the footage back to Premiere Pro to finish the Film and render it out for distribution, the way I did this is by rendering out the sequence in Davinci as an XML file and imported it into Premiere Pro the same way I transferred the sequence from Premiere Pro to Davinci.
One last touch… Film Grain
How could I make a “vintage” looking Film without Film Grain, since I wasn’t able to add it in Davinci resolve as you need to purchase the studio edition to get access to the Film Grain effect I had to instead add it in Premiere Pro, so after a quick google search I found this video: https://youtu.be/k7P_sSUH9fE which showed how to add a very realistic looking grain to footage in Premiere Pro which I followed and did on an adjustment layer just so I can easily add the Film grain over all the footage and can I say for digital footage with the colour grade and film grain it gives that vintage look which is what I wanted from the start.
Reflection
Coming into this short film I said my strongest areas in post production was Sound Design and General Clip editing and its why I focused on Colour Grading for this short film so I could improve my skills and become better and more efficient at colour grading, I wanted to learn how to colour grade in Davinci Resolve from Premiere Pro which I definitely accomplished in this short Film and I did it to a high professional standard which is great as this will help me so much for my future. In my learning agreement I said that I suspected the sound design will be the hardest element of editing this short film but it actually wasn’t as most of the sound effects was recorded on set on the day of filming which means I didn’t need to add much in post to make it sound good and fit which was really good for me because then I could focus on the colour grade. However I was not able to follow my deadlines because my External SSD ran into a issue causing a 1 month delay which I could have actually mitigated this delay by using my PC to edit the short film instead of my MacBook when the external SSD was being sent off to get fixed. Surprisingly I did not struggle much with the colour grade except from the white balance correction however I could have done this a lot easier if I used the RED RAW camera settings to change the white balance that the camera recorded the footage at but now I will know for next time when I am colour grading RAW Footage.